 ChefBook
Old recipe cards usually arrive all at once: a tin or a shoebox after a move or a funeral, with cards in four different handwritings, some splattered, a few with notes like “better with less sugar — 1987”. The common advice is just “scan them”. Scanning is only one of four jobs:
- Sort what you have.
- Preserve the physical cards.
- Digitise them, so one flood or one lost box can’t erase them.
- Make them cookable again, which is the step most people skip.
1. Sort before you do anything else
Spread the collection out and make three piles:
- Family originals. Handwritten cards, recipes with notes in the margin, anything with a name on it. These are the treasure.
- Clippings and printed recipes. Magazine cut-outs, product-packet recipes, photocopies. Keep the ones that were clearly cooked (stained, annotated, folded). The others are usually findable again.
- Duplicates and fragments. Three versions of the same cake, or half a card. Keep the duplicates together, because the differences between versions often show how a recipe changed over the years.
While you sort, write down anything you know about a card on a separate list: whose writing it is, when the dish was made, what occasion it belonged to. That context disappears faster than the ink.
2. Store the physical cards so they last
Paper fades and yellows from light, heat, humidity and contact with acidic materials. Libraries and archives give the same basic advice for family papers (Library of Congress preservation guidance):
- Keep them cool, dry and dark. A cupboard inside the home is better than an attic, a basement or a kitchen shelf near the oven. Avoid places with big swings in temperature and humidity.
- Use archival-quality enclosures. Acid-free, lignin-free paper folders or boxes. If you use plastic sleeves, choose ones sold as archival or photo-safe (polypropylene or polyester). Avoid PVC.
- Remove what damages paper. Rubber bands, paper clips, pins and sticky tape all leave marks or stains over time. Don’t laminate originals, and don’t glue them into scrapbooks or “magnetic” albums.
- Handle them with clean, dry hands, and keep the originals out of the kitchen. Cook from a copy.
Fragile or very valuable cards are worth showing to a professional conservator before you try to flatten, clean or repair them.
3. Digitise every card, front and back
A digital copy is insurance and the starting point for everything else. A few rules make the scans much more useful:
- Capture both sides. The back often holds the oven temperature, a dedication, or the source (“from Mrs. Kowalski, 1962”).
- Use enough resolution. For small cards with faint pencil, scan at 600 dpi if your scanner allows it. 300 dpi is a reasonable minimum.
- Use even, indirect light if you photograph them with a phone. Shoot straight down, away from glare, with the card filling the frame.
- Name files consistently, e.g.
grandma-apple-cake-front.jpg, and back them up in two places.
Our guide on scanning handwritten recipe cards goes step by step through photographing cards with a phone and getting the text out.
4. Turn the scans into recipes you can cook from
A scan preserves the card, but you can’t search it, scale it or add it to a shopping list. That needs the text typed up, which is exactly the chore that leaves recipe boxes unopened for years.
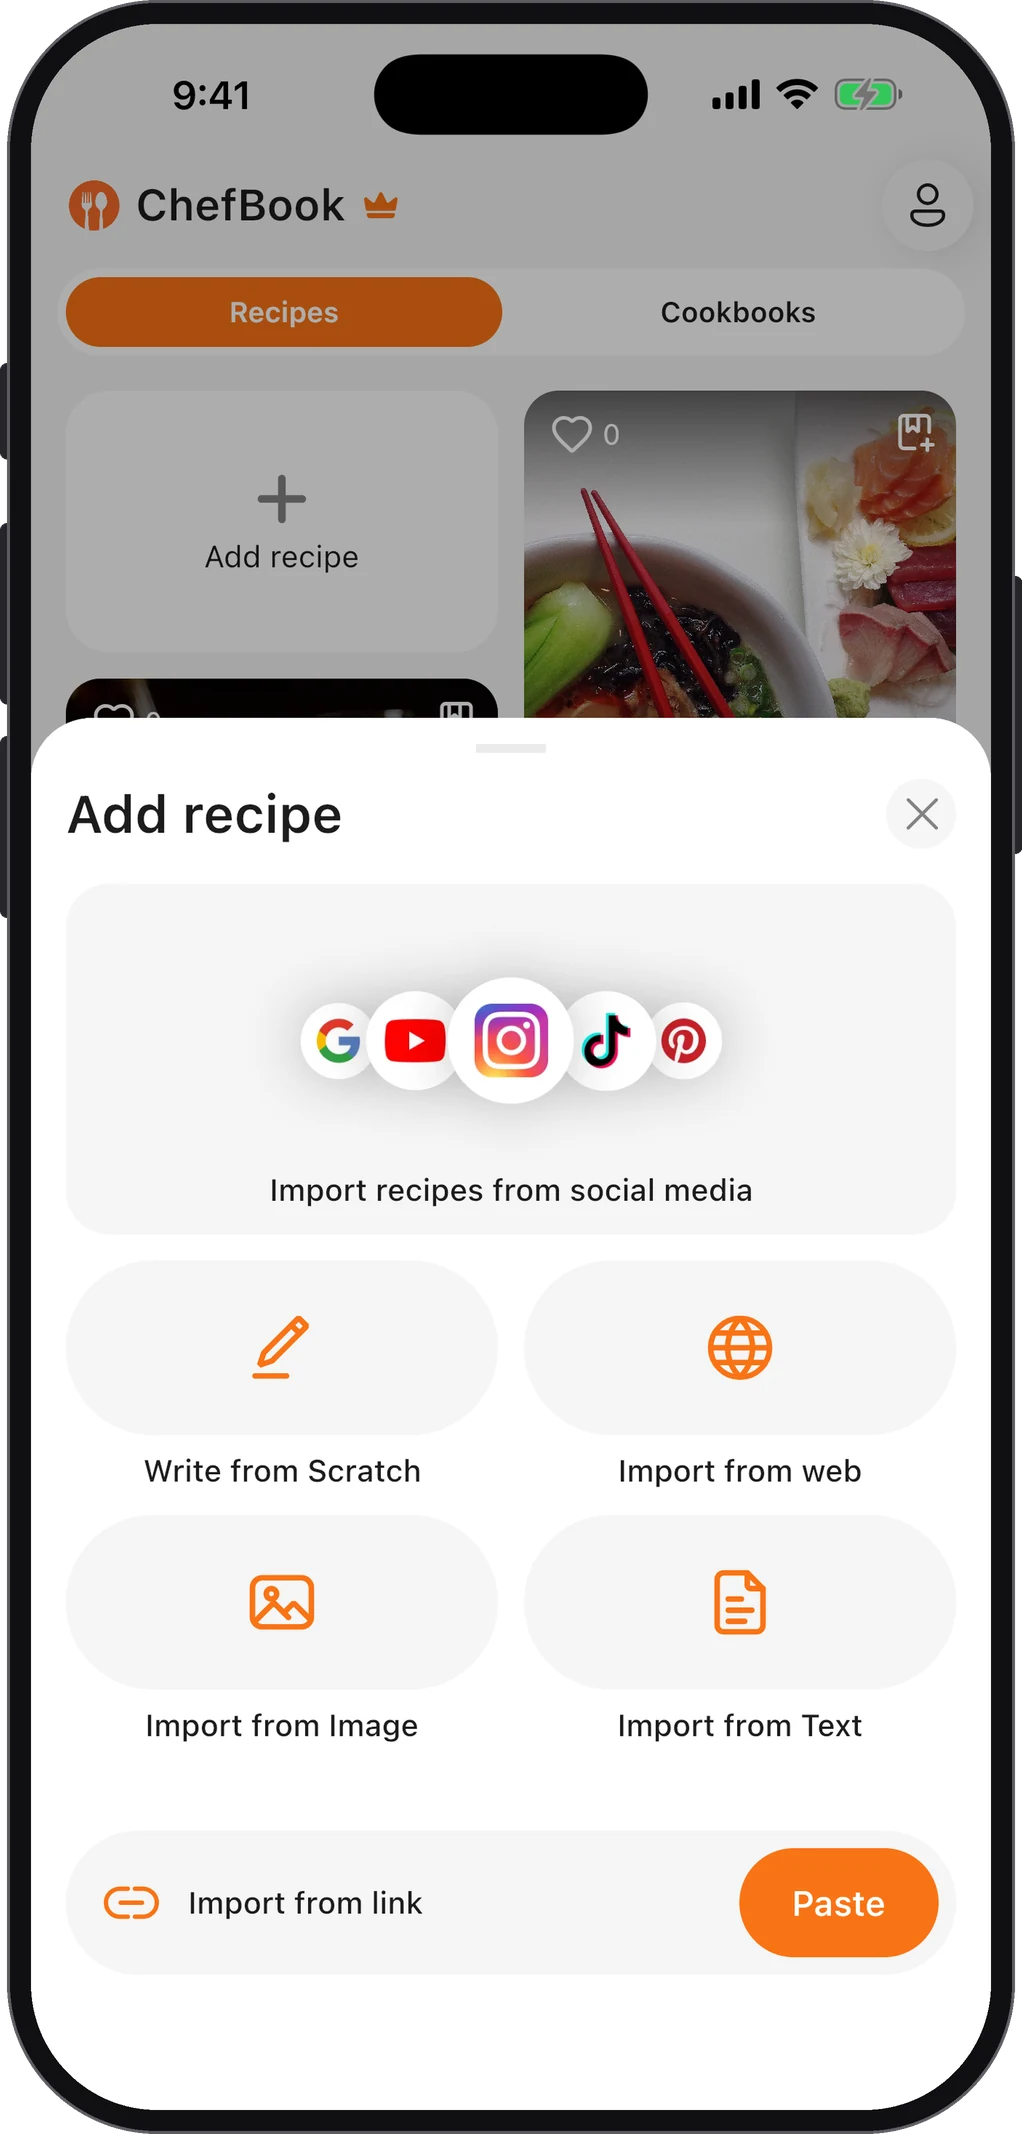
In ChefBook you photograph the card and the app reads the handwriting and builds a structured recipe: title, ingredients and numbered steps. You then check it against the original. AI reading old handwriting is good, not perfect. Faded pencil, unusual abbreviations and “oleo” (margarine) are worth a second look.
While you check each card, fix what makes old recipes hard to follow:
- Fill in missing details. Old cards often say “bake until done” or give no pan size. Add what you know, and mark guesses as guesses.
- Modernise units without losing the original. “1 lb butter” can become “450 g (1 lb) butter”. Keep the original wording in a note.
- Translate where needed. If a grandparent wrote in another language, ChefBook can translate the recipe into yours (translation is a Premium feature). Keep the original card image alongside. See how to translate any recipe.
Then put the recipes into a cookbook named after the person who wrote them. Organising family recipes digitally covers how to structure a collection that the whole family can find their way around.
Ideas for the originals once they’re safe
When the cards are preserved and digitised, you can keep them boxed or use them:
- Frame one or two. A handwritten recipe card framed in the kitchen is a common family keepsake. Use a copy if the original is fragile, or UV-filtering glass if it’s the original.
- Make a family cookbook. Use the typed recipes for cooking and the scans as illustrations. See our guide on how to make a family cookbook.
- Give copies to relatives. Print the scan, or share the digital recipe, so every household has the dish and nobody has to fight over the box.
- Print onto other items. Some people print a scan of a card onto a tea towel or a cutting board as a gift. Work from the scan, never the original.
Common questions
Should I throw away the cards after scanning them?
Only if you really don’t want them. For family handwritten cards, keep the originals. The scan is a backup, not a replacement, and storing a tin of cards properly takes little space. Clippings from magazines and packets are fine to recycle once they’re digitised.
How do I read faded handwriting?
Scan at a higher resolution and increase the contrast in any photo editor. Shading in grayscale often brings back faint pencil. Ask older relatives about words you can’t read, because they may recognise the handwriting or the dish.
What’s the best order to work in?
Sort, preserve, then digitise the cards you’re most afraid of losing first. Make them cookable as you go, starting with the dishes your family still asks for.
Keep every recipe in one place
ChefBook is free on the App Store and Google Play — save your first recipe today.
phone camera