Search the App Store for an iPad recipe app and you’ll get dozens of results, most built for the iPhone first. Some feel great on a big screen across the counter. Others are a phone app with bigger margins that turns the screen off just as you reach the step you need.
Rather than another ranked list (the “best” app depends on how you cook), here is a checklist you can test any app against in minutes, then how to set up the iPad itself: where to put it, how to keep it dry, and how to have the recipe and a timer on screen together.
The iPad recipe app checklist
Install whatever you’re considering and run these tests on your own iPad. Most take under a minute.
| What to check | Why it matters in a kitchen | Quick test |
|---|---|---|
| Uses the whole iPad screen | A stretched phone layout wastes the space you bought the iPad for | Open a recipe on the iPad: is it laid out for the screen, or a phone view scaled up? |
| Works in landscape | A stand usually holds the iPad sideways | Rotate it. Do the ingredients and method fit without endless scrolling? |
| Keeps the screen awake | Auto-Lock turns the screen off mid-step | Open a recipe, don’t touch it, and wait past your Auto-Lock time |
| Readable from arm’s length | You glance at it from the chopping board, not your lap | Step back a metre. Can you read the current step? |
| Works offline | Kitchen Wi-Fi is often the weakest in the house | Turn on Airplane Mode and open a saved recipe |
| Imports from anywhere | Your recipes are on blogs, Instagram, TikTok and paper | Paste a blog link and a social link; photograph a recipe card |
| Same library on iPhone | You save recipes on the phone and cook from the iPad | Save a recipe on the phone, then look for it on the iPad |
| Plans and shops | The iPad is also where you plan the week | Add a recipe to a meal plan and send its ingredients to a list |
| Lets your recipes out | Apps close, and recipes locked inside go with them | Look for an export, such as PDF or text |
| Clear about price | Many apps are free to download with paid features | Read the In-App Purchases list on the App Store page |
The export test matters more than it looks: when Yummly shut down, its users’ saved recipes went with it (see Yummly alternative). And if adding a recipe means retyping it, the library stays empty, so test imports properly.
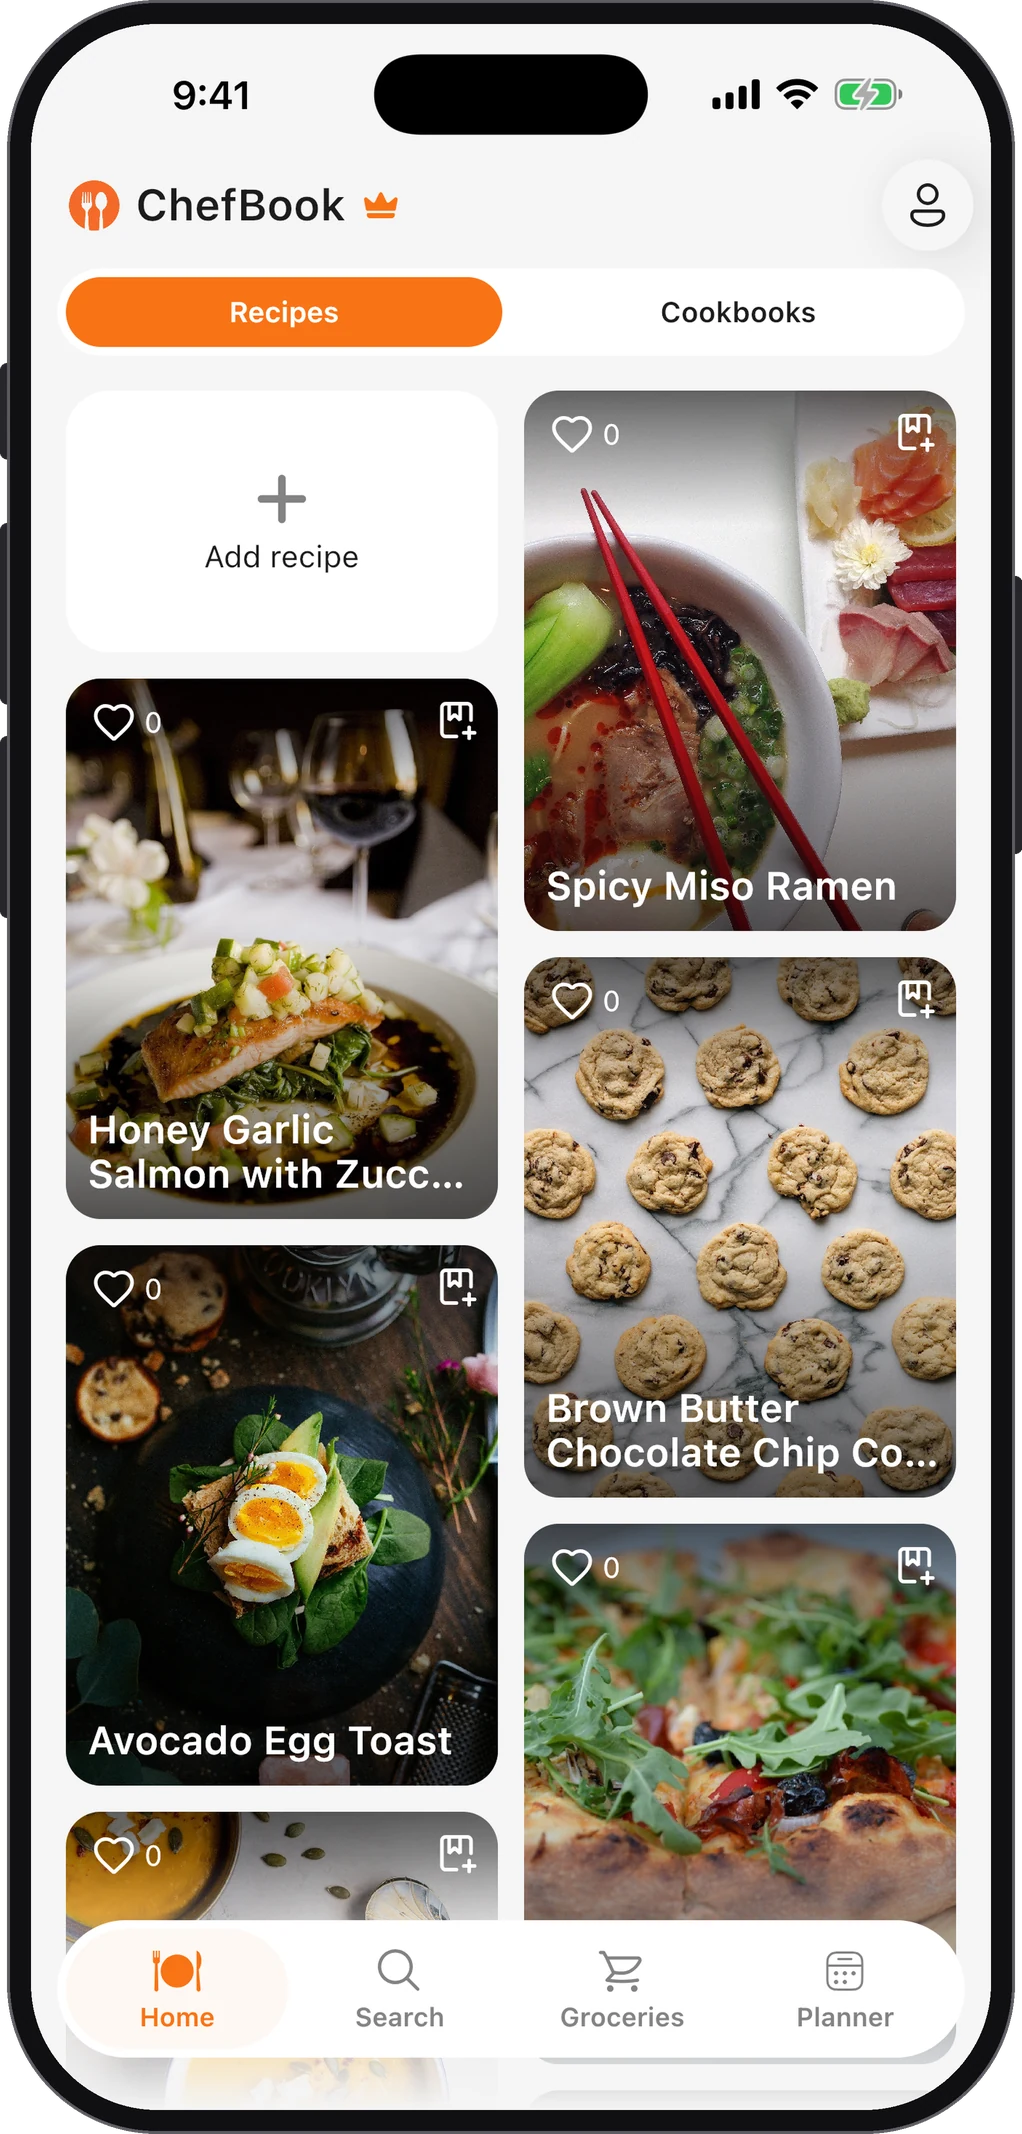
ChefBook is on the App Store for iPhone and iPad, free to download. It imports from any recipe website link, from Instagram, TikTok, YouTube and Pinterest links, from a photo of a cookbook page or handwritten card, and from pasted text, and saved recipes open without internet. Run the checklist on it like any other app: get ChefBook free on the App Store.
How to set up an iPad as your kitchen recipe screen
Where to put the iPad
- Out of the splash zone. Not beside the hob, not behind the sink. The back of the counter, a wall or cabinet mount, or the fridge door all keep it away from boiling water and oil.
- Raised and angled up. You read it standing, and a stand keeps it out of spilled flour and puddles.
- Landscape, if your stand allows. More of the recipe fits on screen, so you scroll less with messy hands.
- Near a socket. A screen that stays on uses battery.
Keep it dry and clean
Apple’s cleaning guide says to avoid getting moisture in any opening, and that liquid damage isn’t covered under the Apple product warranty or AppleCare. A clear zip-top bag or a cover over the iPad does the job for messy recipes; a touchscreen usually still responds through thin plastic.
For greasy fingerprints, the same guide says you can gently wipe the display with a 70 percent isopropyl alcohol wipe, and not to use products containing bleach or hydrogen peroxide.
Keep the screen on while you cook
The iPad locks after a few minutes without a touch. The three fixes, and the catch with each, are in how to keep your iPad screen on while cooking. For phones, see keeping your phone screen on while cooking.
In ChefBook, Cook Mode shows one big step per screen and keeps the screen awake for as long as you’re in it, with timers built in. Cook Mode is a Premium feature; free accounts get 5 uses of Premium features a week.
Put the recipe and a timer (or the shopping list) side by side
This is where an iPad beats a phone. Apple’s multitasking guide for iPadOS 26 and later explains it:
- Open the recipe app full screen.
- Drag a second app, such as Clock for a timer, from the Dock to the left or right edge of the screen.
- Drag the bar in the middle to give the recipe more room.
In iPadOS 26.2 or later you can also make the second app a Slide Over window that floats on top and slides off screen when you don’t need it.
On an older iPad that can’t run iPadOS 26, the same idea is called Split View: tap the Multitasking button at the top of the screen, tap the Split View button, then choose the second app (Apple’s older multitasking guide). If windows overlap instead of sitting side by side, Stage Manager may be on; you can change it in Settings › Multitasking & Gestures (Apple).
Using an old iPad or an iPad mini for recipes
A spare iPad makes a good dedicated kitchen screen: a splash matters less, and it can live on the counter.
- Check the iPadOS version first. Older iPads stop getting updates, and apps list the version they need in the Compatibility section of their App Store page.
- Strip it down. Keep the recipe app, a timer and the shopping list; turn off notifications for everything else so a message doesn’t cover the recipe.
- Keep it on the charger. Old batteries drain fast with the screen on.
An iPad mini fits a small kitchen best, on a narrow stand or a cabinet mount. Its smaller screen makes the arm’s-length test more important, so a step-by-step view helps most here.
Do it with ChefBook on iPhone and iPad
ChefBook is free on the App Store for iPhone and iPad. On whichever device you use:
- Import recipes from websites, Instagram, TikTok, YouTube and Pinterest links, or from a photo or pasted text, then sort them into cookbooks (collections).
- Plan the week with breakfast, lunch, dinner and snack slots, and send a recipe, a day or the whole week to the grocery list in one tap.
- Cook offline: saved recipes open without internet.
- Cook Mode (Premium) puts one big step on screen with timers and keeps the screen awake.
- Home-screen widgets on iOS show Today’s Menu and your shopping list.
New to planning? Start with weekly meal planning for beginners. Download ChefBook free on the App Store.
Questions people ask
Is there a recipe mode on iPad?
iPadOS has no setting called recipe mode. What people usually want is a screen that stays on and text big enough to read from the counter: turn off Auto-Lock, use Guided Access, or use a recipe app with a cook mode that keeps the screen awake.
What is the best iPad for recipes?
Any iPad that runs the app you want. A larger screen is easier to read across the kitchen; an iPad mini fits smaller spaces. An old iPad you already own is often the best choice, because a splash matters less.
Can I use an old iPad for recipes?
Yes, if it still runs an iPadOS version your recipe app supports (see Compatibility on the app’s App Store page). Keep it on a charger and turn off other apps’ notifications.
Is there a recipe book app for iPad?
Yes. Most recipe apps work as a digital recipe book, with recipes grouped into collections such as Weeknight Dinners or Baking. Test one against the checklist above before you move your whole collection in.
Keep every recipe in one place
ChefBook is free on the App Store and Google Play — save your first recipe today.
phone camera